playbooks
Calendar Playbook
Having a shared calendar for a lab can be a game changer in organization. By having every individual in the lab add their events into one calendar, then spontaneous drop-ins and coordinating schedules is a breeze!
1) Get added to the Way Lab Group
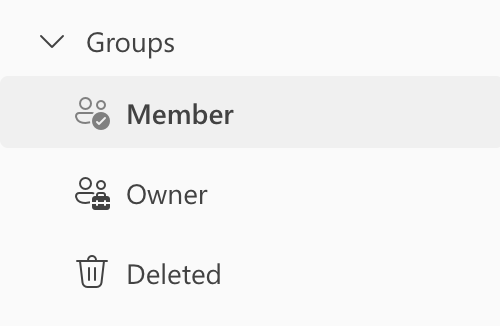
Firstly, everyone should be a part of the “Way Lab” Outlook group. You can check this by going to the “People” tab in Outlook (far left side) and clicking “Member” under the “Group” section to view all of the groups you are a member of.
If you do not see the Way Lab group, then please contact Jenna Tomkinson (bbyy_j22) on Discord so she can add you.
2) View the calendar on Outlook
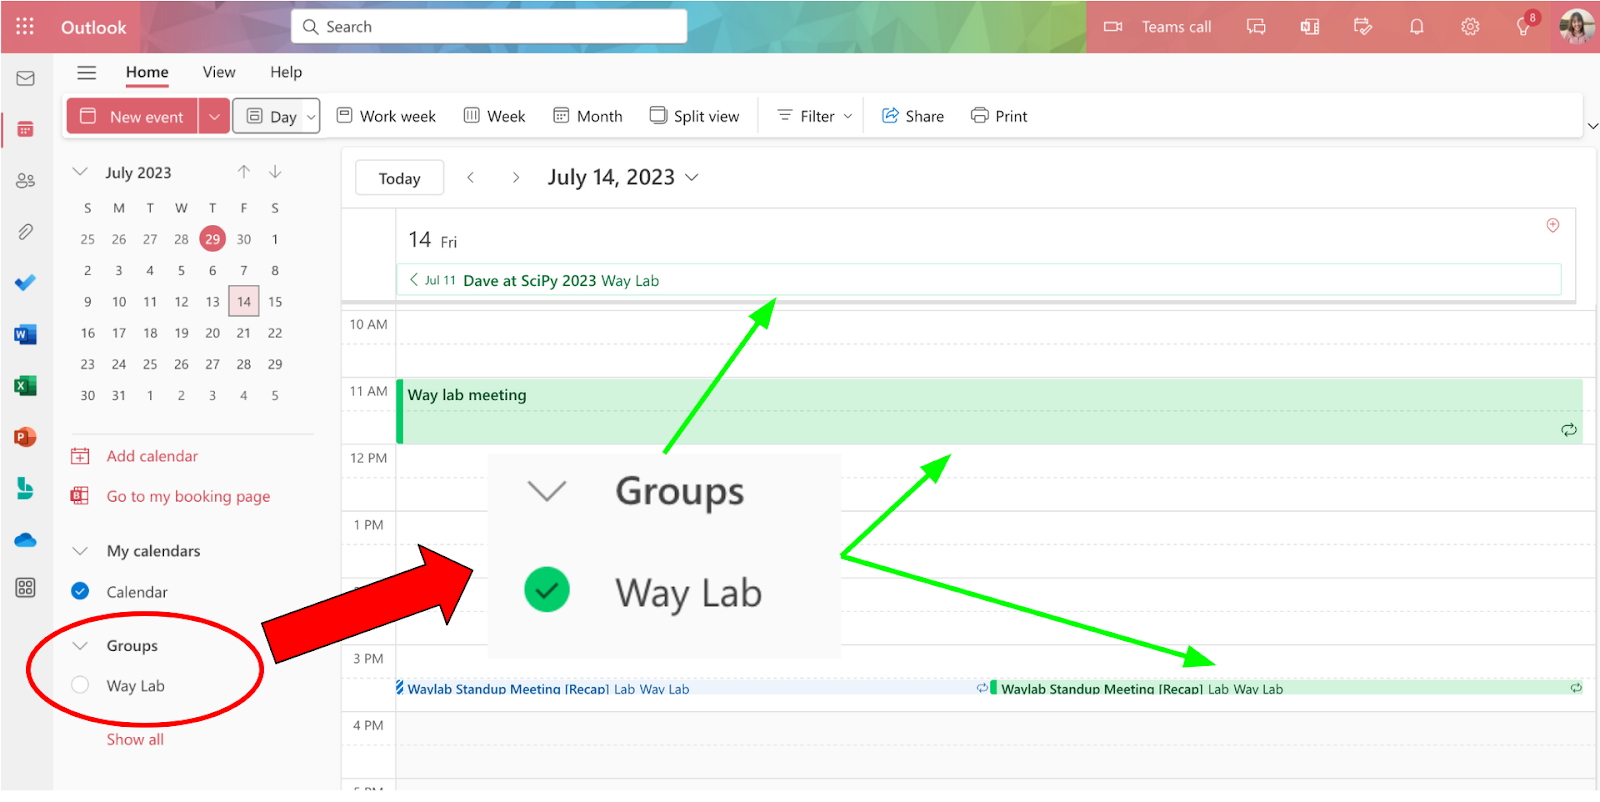
Once you are a member, you can locate the Way Lab calendar by scrolling down on the left side where “My calendars” directory is located to the “Groups” directory.
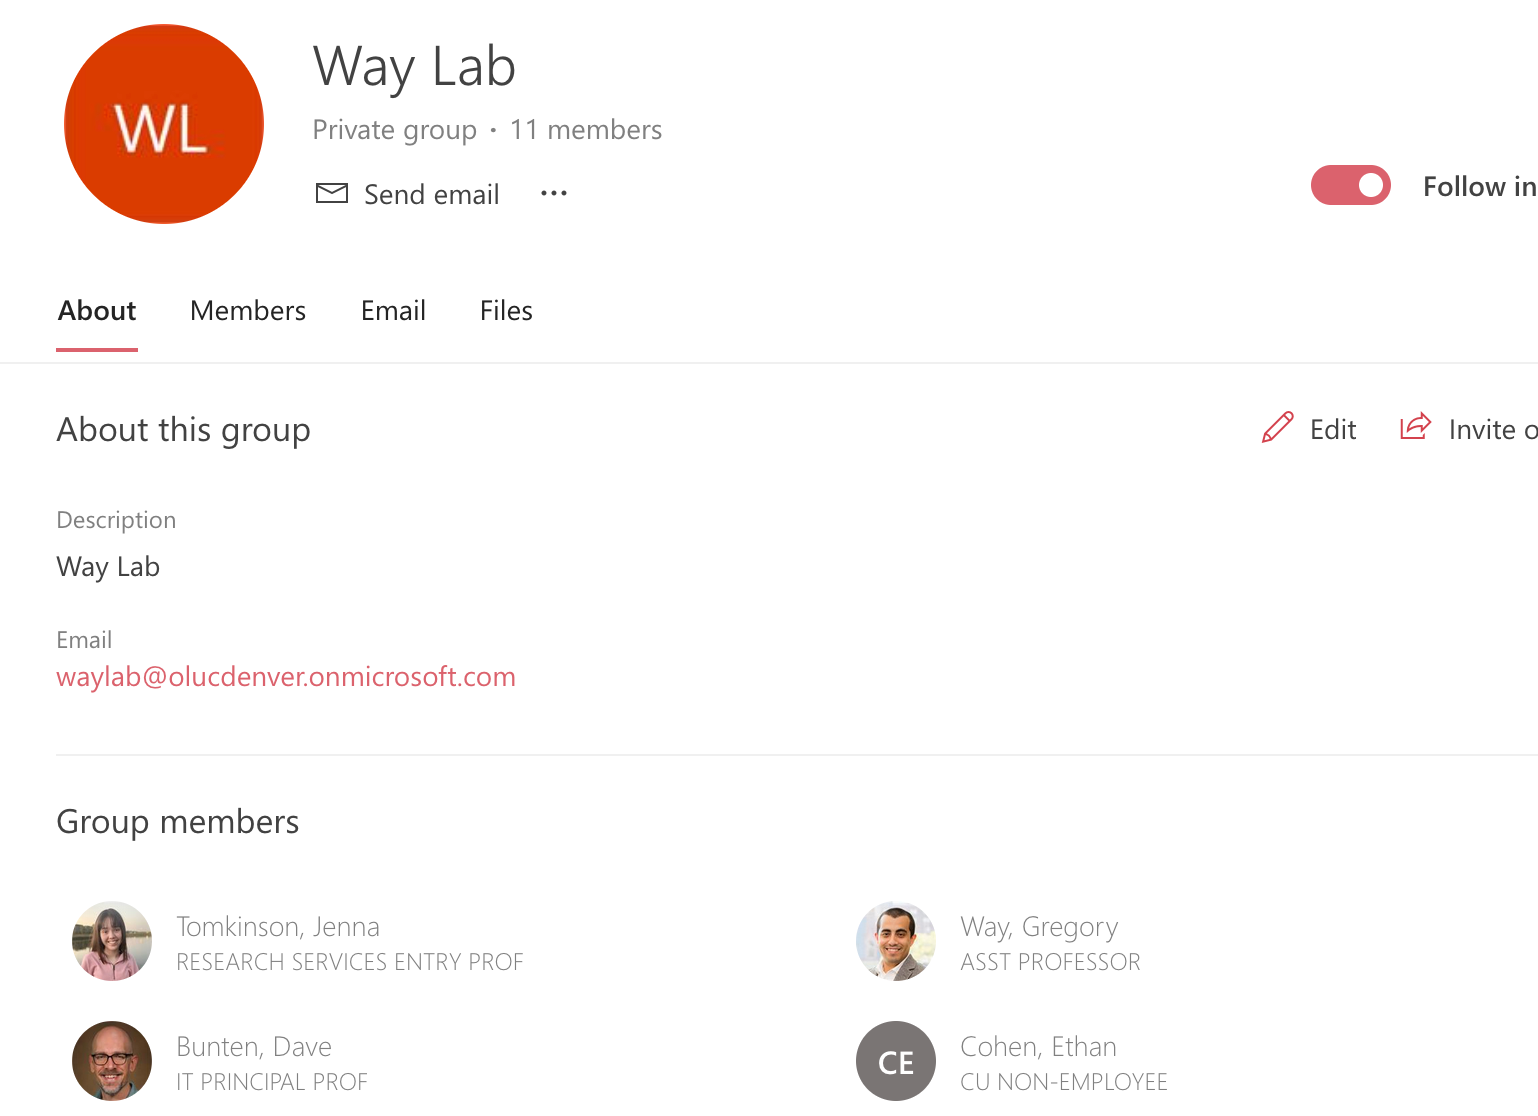
From there, you can see all of the members in the group and all emails that have been sent to the group.
To view the calendar in the “Calendar” tab, just click on “Way Lab” and it will light up the circle on the left (e.g., select or toggle it).
3) Adding meetings/conferences/vacations/etc to the calendar
To set up a more transparent environment where every lab member is on the same page, you will need to begin adding events to the Way Lab calendar.
To do this, you will just create an event normally, but you will need to make sure that it will be created under the Way Lab calendar by having the calendar selected (see above). You can set what calendar the event is created on using the down arrow button next to the “Send” button to select the calendar.
In the title of the event, please have the following information in this order:
- For a meeting:- Name of participants
- Meeting type (i.e 1on1)
- Meeting start time
- Example: Erik/Greg 1on1 - 11am
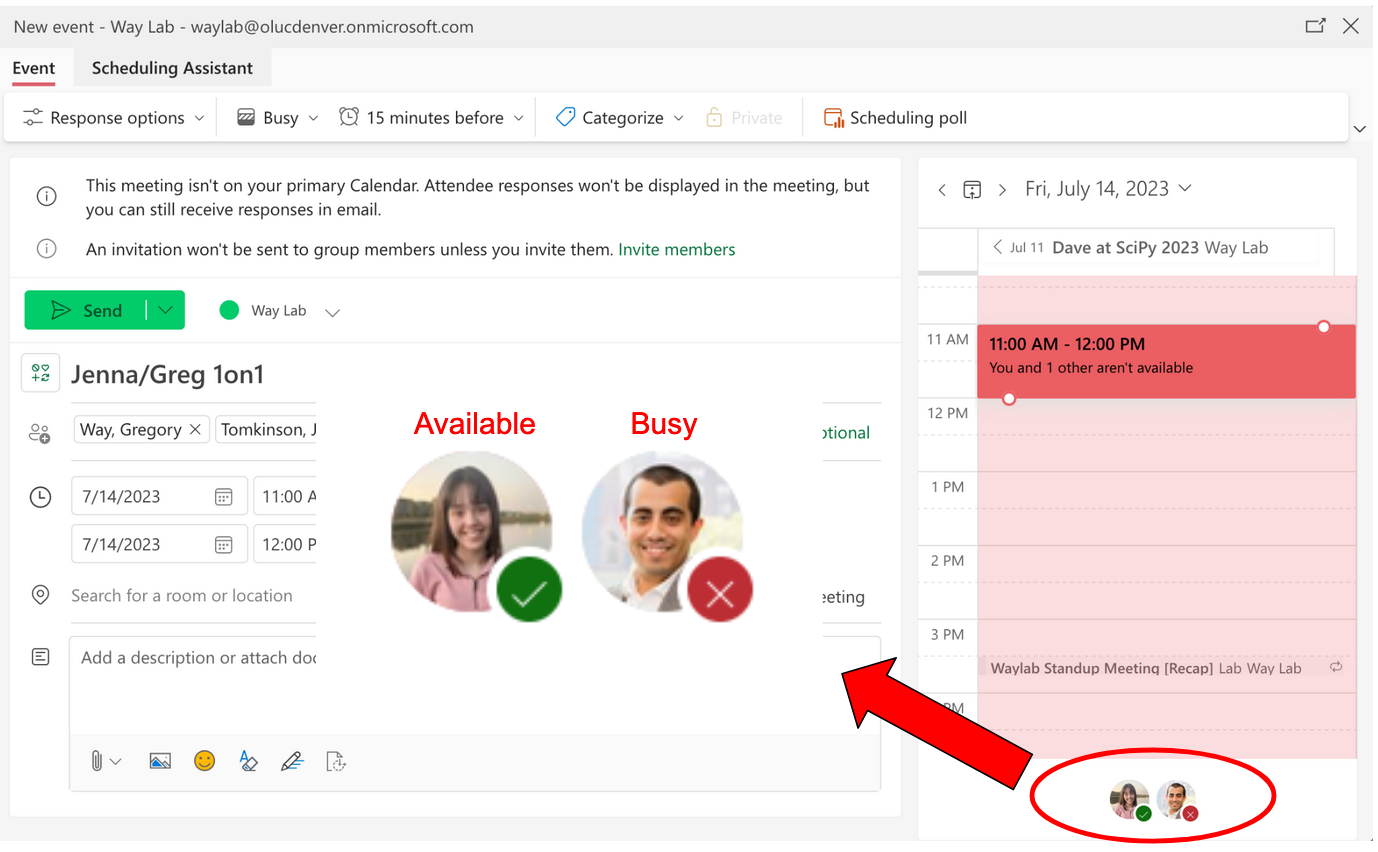
Note: Please make sure to invite all participants to the event (include yourself if you want the event on your personal calendar).
By inviting the participants, you will be able to see if that person is available or not by looking at the icons on the bottom right.
You can see if an individual is available or not to meet and change the date and time accordingly (see figure below).
- For an appointment or if you will be out:
- Name of individual
- Optional: reason for being out (e.g appointment, class, etc)
- Add “- OOO” to the end
- Example: Jenna Appointment - OOO
- For a vacation or conference:
- Name of individual
- Vacation or name of conference
- Example: Greg SBI2
4) Bonus: Adding your own “Categorize” color
For a more organized looking calendar, it is recommended to choose your own color to make your events to distinguish it from another.
For example, one individual’s color is orange and all their events are orange. When you look at the schedule and see an orange event, you know that there is something going on for that individual.
You can set the color of your event using the top tab called “Categorize”.
Make sure to choose a unique color that isn’t already being used. You can check this by viewing the events on the calendar.